Category: baking
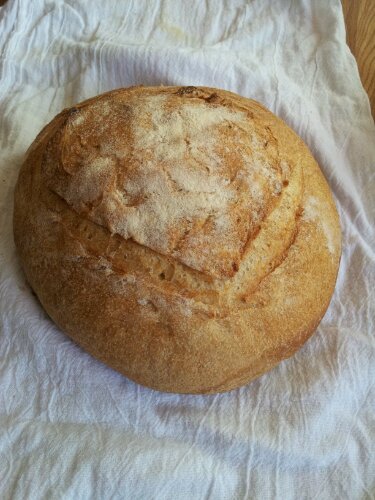
Well it did take parts of two days to make…so maybe not that quick.
More to come soon…
Permanent link to this article: https://www.rhinoblues.com/thoughts/2012/05/a-quick-loaf/
San Francisco’s
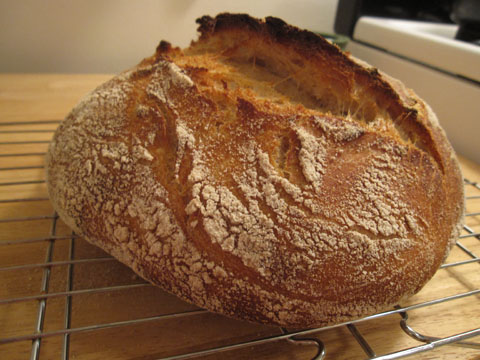
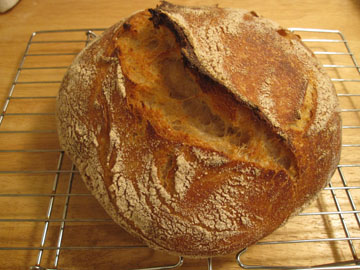
Tartine Bakery’s famous breads come out of the oven six days a week at 5pm. It is normally all gone by 6pm.
In Tartine Bread, Chad Robertson teaches you how to make this wonderful bread at home. Tartine’s bread differs from the standard San Francisco sourdough by using a young levain (wild starter). By using the starter when it is still young in the cycle, it doesn’t have as much of the distinct sour taste of the traditional San Francisco sourdough breads.In making this bread, I created a wild starter that I fed everyday for a little over a week. This was to get the starter in a consistent life cycle so when it came time for baking, you’d be able to use the levain at the right part of its life cycle.
The other great thing in this book is that Chad found an ingenious solution to the problem most home bakers face when baking hearth style breads. Most home ovens are not sealed to the extent commercial baking ovens are. To create a sealed environment, he uses a cast iron combo cooker (Like this one from Lodge). This creates a small sealed environment, where the moisture in the dough creates the steam necessary for a good oven spring. The resulting bread has wonderful crumb with large gas pockets. Unfortunately the bread was so tasty, I forgot to take a picture of what it looked like on the inside (or maybe not so unfortunately since it was so good).
Permanent link to this article: https://www.rhinoblues.com/thoughts/2011/03/tartine-bread/
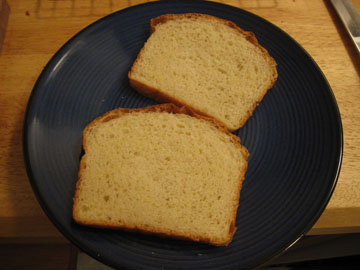
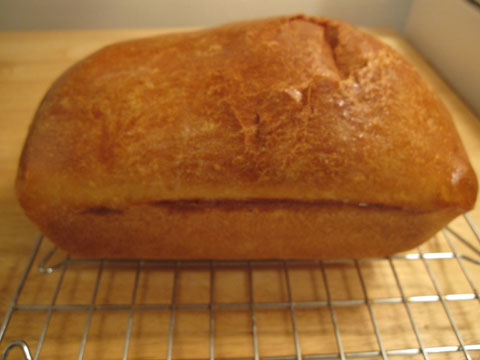 A basic White Sandwich loaf. This is essentially the same loaf my grandfather makes in his bread machine, but instead made by hand.
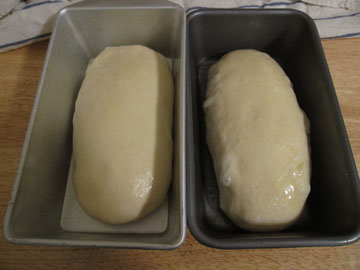 The formula made enough for two loaves…but not the 1.5lb pans. I ended up transferring one of these to a smaller bread pan, so it actually crested over the lip of the pan. While my loaves weren’t quite as tall as I’d hope, they still turned out pretty much as expected. Good sandwich bread (and also good for toast)
Permanent link to this article: https://www.rhinoblues.com/thoughts/2011/03/white-bread/
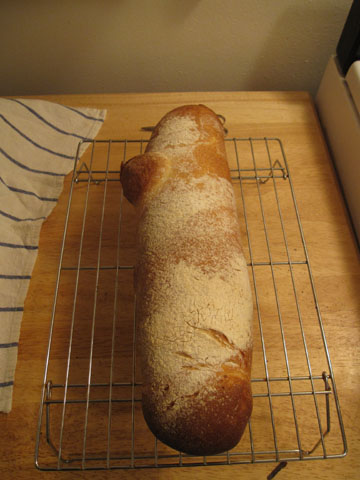 Tuscan Bread is made without salt and as a result has a more plain flavor than a French Bread for example. In Tuscany, this is made up for with the generous use of flavorful sauces to dip the bread in.
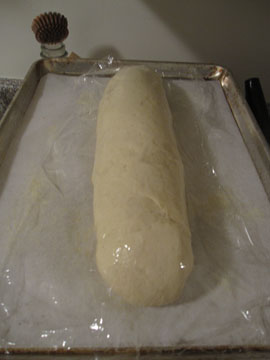 The bread definitely didn’t have the same full flavor of the traditional french loaf. It did however make a good dipping bread.

Permanent link to this article: https://www.rhinoblues.com/thoughts/2011/03/tuscan-bread/
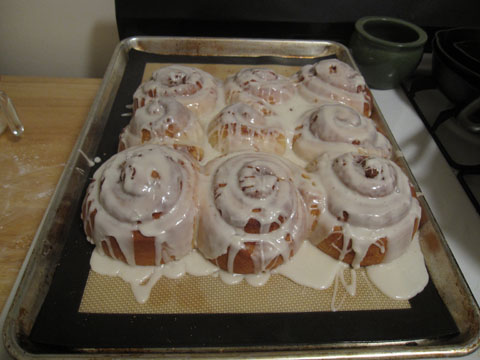
I think the picture kind of speaks for itself. These are the Cinnamon Rolls from the BBA.
Permanent link to this article: https://www.rhinoblues.com/thoughts/2011/02/cinnamon-rolls/
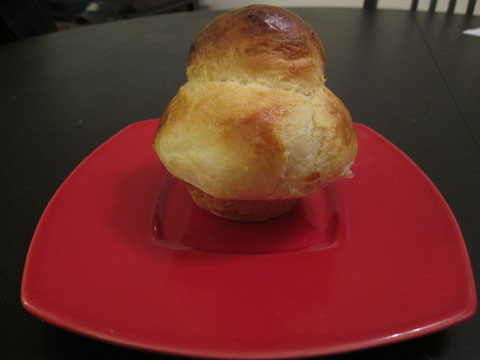
I didn’t go home over the holidays this year, so I had a couple long weekends with not much going on. A perfect time to get back into the BBA Challenge! I decided to go back and try and hit a couple of the breads I had skipped over previously. As I had everything on hand for the Brioche, I decided to start there.
First step was to create a sponge:
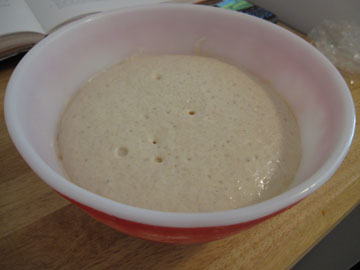
This would get the yeast started on their life journey.
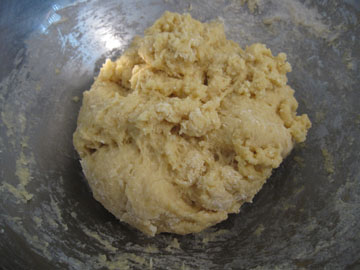
After adding additional flour it would be time to slowly mix in the butter. In the BBA there are three variations of Brioche. Rich Man’s, Middle Class, and Poor Man’s Brioche. I decided to go with the Middle Class variation, partially because I’d be mixing the butter in by hand (instead of having a stand mixer). It took a fair amount of time to mix in a half pound of butter into the dough above. Once that was done I spread out the dough on a sheet pan and let it do a cold fermentation overnight in the refrigerator.
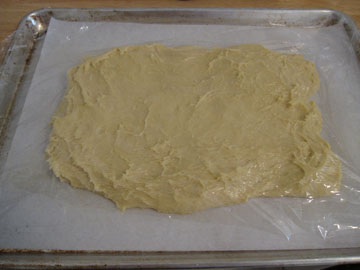
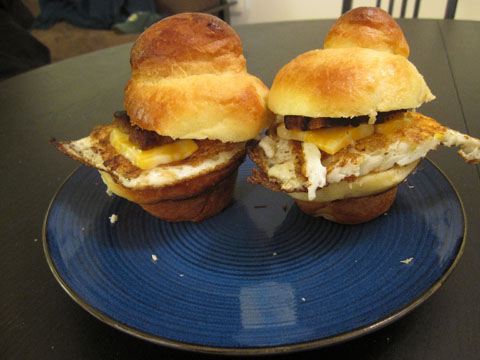
The next day it was time to proof the dough. Because of all the butter in the dough, I’d do the shaping as soon as I removed the dough from the refrigerator. As I don’t have any brioche tins, I improvised with a muffin pan.

After letting the rolls proof and brushing them with an egg wash, it was time for them to go in the oven. They ended up with a “muffin bottom,” but still tasted great.
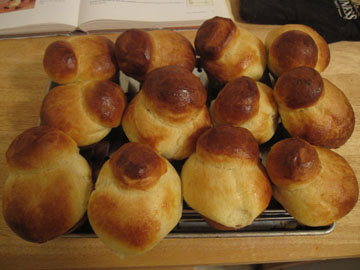
Of course, I had to take Nicole’s advice and make breakfast sandwiches with them in the morning!
Permanent link to this article: https://www.rhinoblues.com/thoughts/2011/01/brioche/
I’d been looking forward to this section of the
BBA from the beginning. Part of the fun was going to be the making of the sourdough starter from scratch. I did run into a little problem when I first got to this section however. The formula for the starter called for pumpernickel rye (a course grind) flour. I went all over LA looking for someone who carried it, but no one seemed to. I almost gave up and ordered online, but by that time I had a trip to Portland coming up, so I decided I’d go out to
Bob’s Red Mill and just pick it up there.
The first step in making the mother starter was to create a seed culture. This process took 4 days.
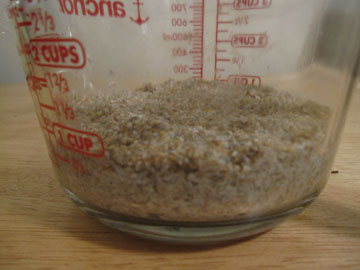 Day 1 – Pumpernickel and Pineapple Juice
For the first two days, instead of water, the instructions were to use pineapple juice to hydrate the flour. This is to prevent the development of a bacteria that could inhibit the growth of the yeast later on in the process.
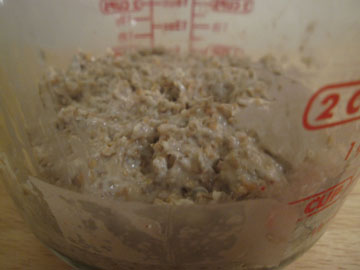
Day 2 – Pumpernickel Rye, Bread Flour, Pineapple Juice
Day 2 introduced regular bread flour to the mixture. Days 3 and 4 introduced more bread flour and goes back to water to hydrate the flour.
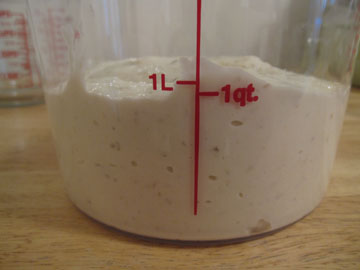
Mother Starter
To create the mother starter, I added a portion of the seed culture to more flour and water and let it rise a few hours before putting it in the refrigerator over night for some slow fermentation.
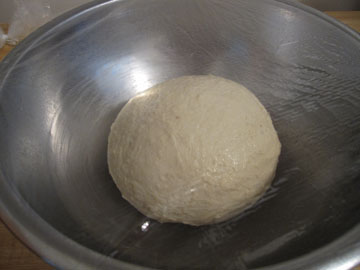 Basic Sourdough rising
I do need to figure out the best way to use my mother starter as formulated in the book. I only need a small portion to make the formula for the basic sourdough loaves…so I ended up with a lot of extra starter that wasn’t used. I need to work on understanding the baker’s formula calculations better, so I can keep a smaller starter.
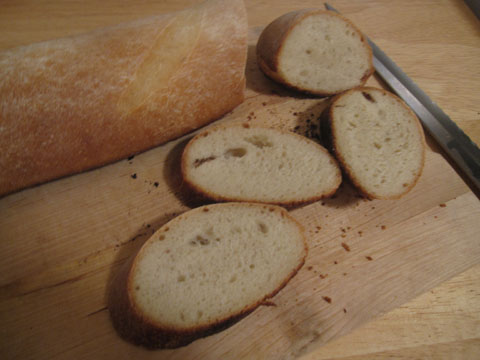
For this batch I decided to shape the sourdough into baguettes:
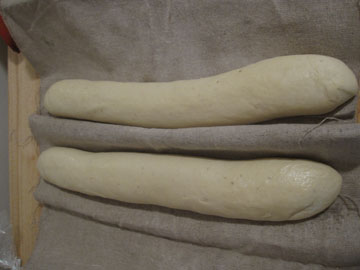 Proofing on the couche
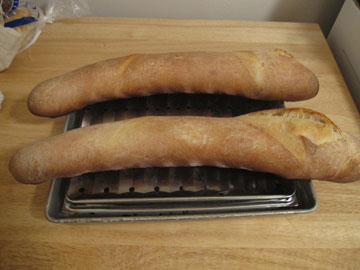
Fresh out of the oven…on my makeshift cooling rack.
I’ve since made a batch shaped in boules. I did like the bread, though it was still pretty dense both times. I think my starter may still need a few more times refreshing to let the flavor develop a little more, but you could definitely tell it was a sourdough bread.
Permanent link to this article: https://www.rhinoblues.com/thoughts/2010/11/basic-sourdough/
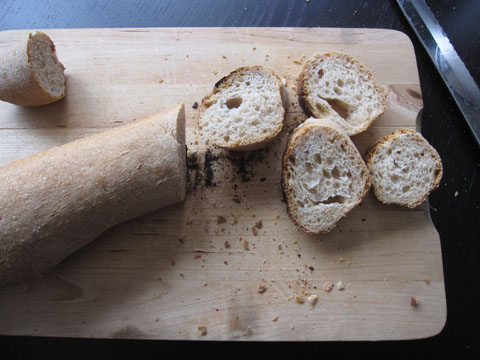
This is another long overdue post. I brought these loaves to a potluck and hike in June. I must get better about posting.
These baguettes are started with a poolish, and that is the main difference between it and the earlier French style baguettes. These also had a bit of sifted whole wheat flour in them, instead of 100% bread flour that the traditional French Bread would have.
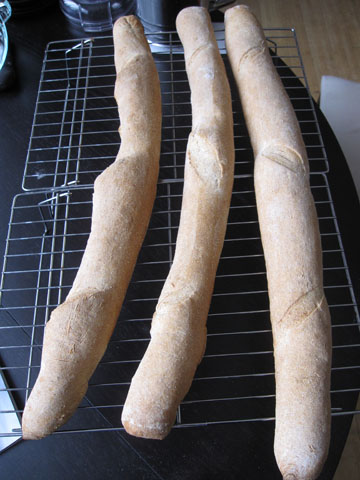
I shaped these loaves to be as big as my oven could handle. These were however the last loaves I made at my old apartment…and as a result are a little longer than I can do with my current oven.
Permanent link to this article: https://www.rhinoblues.com/thoughts/2010/11/poolish-baquettes/
Wow, this post is long delayed. I baked this bread months ago…but such is things when life gets in the way. I do luckily have a few more pictures of baking this bread to help spur my memory though.
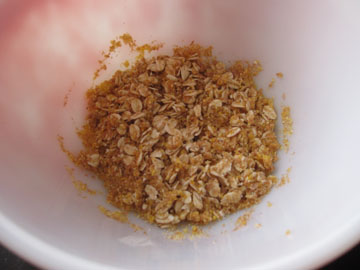
I started out with a overnight soak of some oats, polenta, & wheat bran. The next day I mixed in the flour and let it rise.
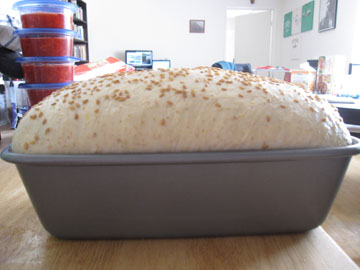
This made a single loaf, and it crested nicely about the lip of the pan. I topped it with flax seed to add yet a little more extra goodness to the multiple grains. (My first batch of strawberry freezer jam is setting in the background!)
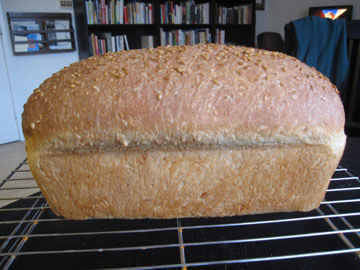
Just out of the oven.
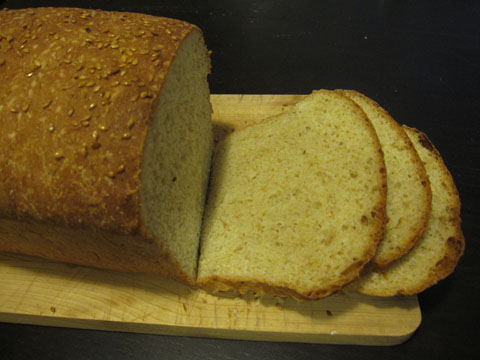
This made great sandwich bread. (I was also told it was good as toast, but I didn’t have any myself.) It was gone before I knew it. I would like to make this again soon as I get back into the baking habit.
Permanent link to this article: https://www.rhinoblues.com/thoughts/2010/08/multigrain-extraordinaire/

We like to make homemade pizzas fairly often, so this formula came at a good time. This dough is meant to be slowly fermented, from the ice cold water used in the mixing, to the at least overnight fermentation in the refrigerator. Unfortunately my hand tossing skills are not up to par yet, so i ended up with the squarish pizza you see above.
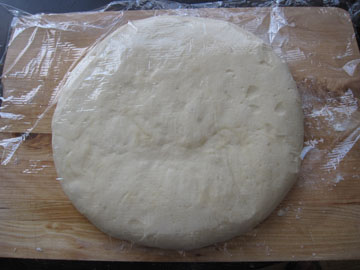
On pizza day, you remove the dough from the refrigerator a couple hours before you will bake the pizza. When I got ready to attempt to hand toss the dough, I had a nice round piece of dough. I need a lot of practice to get the hand tossing technique down though. I get the dough too thin in the center and it tears. In the end…the square pizza at the beginning of this post.
I will have more opportunity to practice however, as I’ve got two more balls of dough in the freezer to use later.
Permanent link to this article: https://www.rhinoblues.com/thoughts/2010/06/pizza-napoletana/


